

Installation guide
First of all let’s say that because the worktops are heavy you should also have the help of someone else.
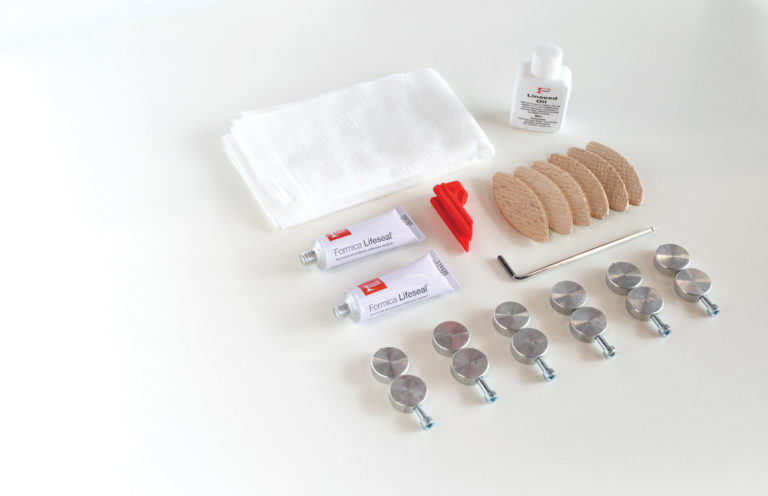
The materials needed are:
- Pencil to mark out measurements,
- Chipboard screws, angles to support the worktop,
- Silicone for sealing (if the manufacture of your worktop provides a colour matched adhesive this will be within the drop down options in your desired product),
- Very fine sandpaper and glue.
- Other basic tools are:
- Electric jigsaw, Electric Circular Saw, Electric screwdriver, easel or a suitable place in order to provide a comfortable working enviroment.
We always recommend wearing protective equipment such as gloves, mask or goggles.

Steps
1.
In order to have a professional finish, it is important that the lead from the front of the cabinets is the same. That is, a 600mm wide counter should protrude 30mm from 570mm wide cabinets. To prepare the bench to fit exactly, bring it close to the wall and make sure it has the protrusion you want. Place a strip of paper tape along the edge of the worktop against the wall and draw a line with the pencil on the wall surface so that the line is drawn on the paper tape.
2.
Place the worktop on the easels and cut the back of the worktop with the electric jigsaw. Put the worktop back face to face with the wall. Mark the tip to be trimmed. Make sure the saw is not in power and measure the distance from the tip of the disc to the edge of the side guide of the saw. Suppose the distance is 30mm. Now measure 30mm inwards from the cutting line on the worktop, mark with the pencil along the worktop to form a 30mm line inwards from the cutting line of your worktop that you will use as a guide for your cutting. Take a side guide and place it on this line. Set the circular saw to run parallel to the side guide and the disc will cut on the line you marked.
3.
(Optional) Insert the brackets. The worktops are mounted on the floor cabinets using corner brackets. Screw these brackets to the floor cabinets and worktop with the electric screwdriver.
4.
Place the edging strip (if applicable) that is normally provided as additional equipment of the worktop. Using contact adhesive, apply the adhesive onto the edging strip and allow it to ‘go off’ (wait until it is sticky). Apply this to the edge of the worktop you wish to re-edge leaving an over hang either side so that you can hand file the remaining edging off and be sure to use masking tape on the face of the worktop to avoid scratching. Alternatively you can have us do this bit! Click here to be taken to our fabrication page. Then sand with sandpaper to smooth the bonding point.
5.
Spread the joint adhesive along the points of contact of the worktop with the wall so as to achieve better welding and insulation.
And that’s all !
We would also suggest you to check the installation and care page, where you will find all the brochures of all our branded worktops that are designed to provide you with all the information you need for each specific material!
We hope we have helped you choose the right material to make your kitchen exactly the way you want it.
If you want to change your kitchen wall together or a simple face lift we are here.
Our sales team are more than happy to help you.
Please call on 0161 477 0967 or email at sales@onestopworktops.co.uk